Get Started with Stream Processing (Client/Server)
This tutorial shows you how to use a Hazelcast cluster as a data processing engine for your client applications. At the end of this tutorial, you’ll know how to build a data pipeline in Java and submit it as a job to your Hazelcast cluster.
Before You Begin
To complete this tutorial, you need the following:
| Prerequisites | Useful resources |
|---|---|
A full Hazelcast distribution (Docker or Binary) |
|
Any supported JDK |
|
Maven 3.9 |
Step 1. Set Up the Project
First, you need to setup a Java project that you can later package and submit to a Hazelcast cluster.
-
Check that you have Maven installed.
mvn -vIf Maven is installed, you should see some information about the Maven installation, which looks similar to the following:
Apache Maven 3.8.1 (05c21c65bdfed0f71a2f2ada8b84da59348c4c5d) Maven home: /usr/local/Cellar/maven/3.8.1/libexec Java version: 16.0.1, vendor: Homebrew, runtime: /usr/local/Cellar/openjdk/16.0.1/libexec/openjdk.jdk/Contents/Home Default locale: en_GB, platform encoding: UTF-8 OS name: "mac os x", version: "10.15.7", arch: "x86_64", family: "mac" -
Create the following structure in a project directory of your choice.
📄 pom.xml 📂 src 📂 main 📂 java 📂 org 📂 example 📄 EvenNumberStream.java -
Add the following to your
pom.xmlfile to set your project’s name, version, and its dependencies on external libraries such as Hazelcast.Replace the
${jdk.version}placeholder with your JDK version.<?xml version="1.0" encoding="UTF-8"?> <project xmlns="http://maven.apache.org/POM/4.0.0" xmlns:xsi="http://www.w3.org/2001/XMLSchema-instance" xsi:schemaLocation="http://maven.apache.org/POM/4.0.0 http://maven.apache.org/xsd/maven-4.0.0.xsd"> <modelVersion>4.0.0</modelVersion> <groupId>org.example</groupId> <artifactId>hz-example</artifactId> <version>0.1.0</version> <repositories> <repository> <id>snapshot-repository</id> <name>Maven2 Snapshot Repository</name> <url>https://oss.sonatype.org/content/repositories/snapshots</url> <releases> <enabled>false</enabled> </releases> </repository> </repositories> <dependencies> <dependency> <groupId>com.hazelcast</groupId> <artifactId>hazelcast</artifactId> <version>6.0.0-SNAPSHOT</version> </dependency> </dependencies> <properties> <maven.compiler.source>${jdk.version}</maven.compiler.source> <maven.compiler.target>${jdk.version}</maven.compiler.target> </properties> </project>
Step 2. Build your Stream Processing Pipeline
With Hazelcast, you can specify data processing steps, using the Java Jet API. This API defines a series of tasks that can be submitted to a Hazelcast cluster as a job.
The general pattern of a data processing pipeline is to read data from a data source, process (or transform) it, and write the results to a data sink. You can visualize these steps as a linear process:
readFromSource → transform → writeToSink
In this step, you create a pipeline that reads a stream of incrementing numbers from a test data source and prints only even numbers, using the console as a sink.
-
Add the following to your
EvenNumberStream.javafile.
package org.example;

import com.hazelcast.config.Config;
import com.hazelcast.core.Hazelcast;
import com.hazelcast.core.HazelcastInstance;
import com.hazelcast.jet.pipeline.Pipeline;
import com.hazelcast.jet.pipeline.Sinks;
import com.hazelcast.jet.pipeline.test.TestSources;

public class EvenNumberStream {
  public static void main(String[] args) {

    Pipeline pipeline = Pipeline.create(); (1)
    pipeline.readFrom(TestSources.itemStream(10)) (2)
      .withoutTimestamps() (3)
      .filter(event -> event.sequence() % 2 == 0) (4)
      .setName("filter out odd numbers") (5)
      .writeTo(Sinks.logger()); (6)

    HazelcastInstance hz = Hazelcast.bootstrappedInstance(); (7)

    hz.getJet().newJob(pipeline); (8)
  }
}| 1 | Initialize an empty pipeline. |
| 2 | Read from the dummy data source. Every 10 seconds, the itemStream() method emits SimpleEvent objects that contain an increasing sequence number. |
| 3 | Tell Hazelcast that you do not plan on using timestamps to process the data. Timestamps are useful for time-sensitive processes such as aggregating streaming data. In this example, you aren’t aggregating data. |
| 4 | Filter out any even numbers from the stream. The filter() method receives the SimpleEvent objects from the dummy source. |
| 5 | Set the name of this processing stage. Naming a processing stage makes it easier to recognize in the DAG view of Management Center. |
| 6 | Send the result of the streaming process to the console. A pipeline without any sinks is not valid. |
| 7 | Create a bootstrapped Hazelcast member. This bootstrapped member allows you to submit your pipeline as a packaged class to a running cluster, using the newJob() method. |
| 8 | Pass your pipeline to the bootstrapped Jet engine. |
Each method such as readFrom() or writeTo() results in a pipeline stage. The stage resulting from a writeTo() operation is called a
sink stage and you can’t attach more stages to it. All other stages are
called compute stages and expect you to attach further stages to them.
Step 3. Start a Hazelcast Member
In this step, you start a local single-member cluster to which you can submit your pipeline as a job.
-
Create a new Docker network called
hazelcast-network.docker network create hazelcast-networkDocker networks make it easier for you to connect to your cluster and add other services that need to communicate with your cluster.
-
Execute the Docker
runcommand to start a member.docker run \ -it \ --network hazelcast-network \ --rm \ -p 5701:5701 hazelcast/hazelcast:6.0.0-SNAPSHOTDocker parameters:
-
-it: Starts an interactive session, allowing you to stop the member with Ctrl+C. -
--rm: Tells Docker to remove the container from its local cache after it exits. -
--network: Allows you to connect to clusters, using an alias. -
-p: All member containers must publish port 5701 under a different host machine port.
-
bin/hz-startbin/hz-start.batStep 4. Submit your Job to the Member
After building a pipeline, you can deploy it to your member by packaging the code into a JAR file and submitting it to the member as a job. After you submit the JAR file to the cluster, it will optimize the execution plan and start running the job for you.
-
Package your Java code into a JAR file.
mvn package -
From the Hazelcast home directory execute the
hazelcast submitcommand.Replace the following placeholders:
-
$PATH_TO_TARGET: The absolute path to your
targetdirectory. -
$MEMBER_IP: The IP address of the member to which to submit the job.
docker run -it --network hazelcast-network -v $PATH_TO_TARGET:/jars --rm hazelcast/hazelcast:6.0.0-SNAPSHOT hz-cli -t $MEMBER_IP submit -c org.example.EvenNumberStream /jars/hz-example-0.1.0.jar
In the console of your Hazelcast member, you should see that a new job has been submitted and it’s running on your cluster.
Replace the
$PATH_TO_JAR_FILEplaceholder with the absolute or relative path to your packaged JAR file.Mac and Linuxbin/hz-cli submit --class org.example.EvenNumberStream $PATH_TO_JAR_FILEWindowsbin/hz-start.bat submit --class org.example.EvenNumberStream $PATH_TO_JAR_FILETo avoid the need to specify your main class in the hazelcast submitcommand, you should also set theMain-Classattribute in theMANIFEST.MF. -
-
To see a list of running jobs on your cluster, execute the
list-jobscommand:docker run -it --network hazelcast-network hazelcast/hazelcast hz-cli -t $MEMBER_IP list-jobsMac and Linuxbin/hz-cli list-jobsWindowsbin/hz-start.bat list-jobsYou should see the following:
ID                  STATUS             SUBMISSION TIME         NAME
03de-e38d-3480-0001 RUNNING            2020-02-09T16:30:26.843 N/A
Each job has a unique cluster-wide ID. You can use this ID to manage the job.
A job with a streaming source will run indefinitely until explicitly canceled or the cluster is shut down. Even if you kill the client application, the job keeps running on the cluster.
Step 4. Monitor your Jobs in Management Center
With Management Center, you can monitor the status of your jobs and manage the lifecycle of existing jobs in your cluster.
-
Start Management Center.
-
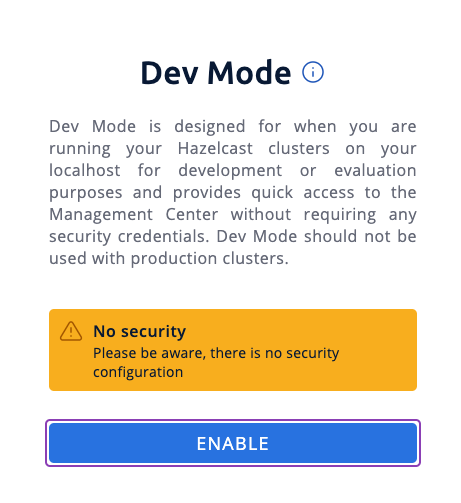
In a web browser, go to localhost:8080 and enable dev mode.

-
Enter your cluster’s name (
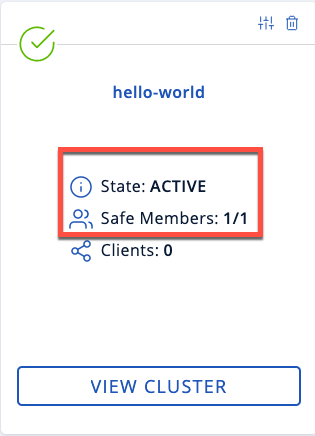
dev) and IP address.
-
In the left menu of Management Center, go to Streaming > Jobs.
You should see that your job is running.

-
Click the job ID to open a detailed view of your job.
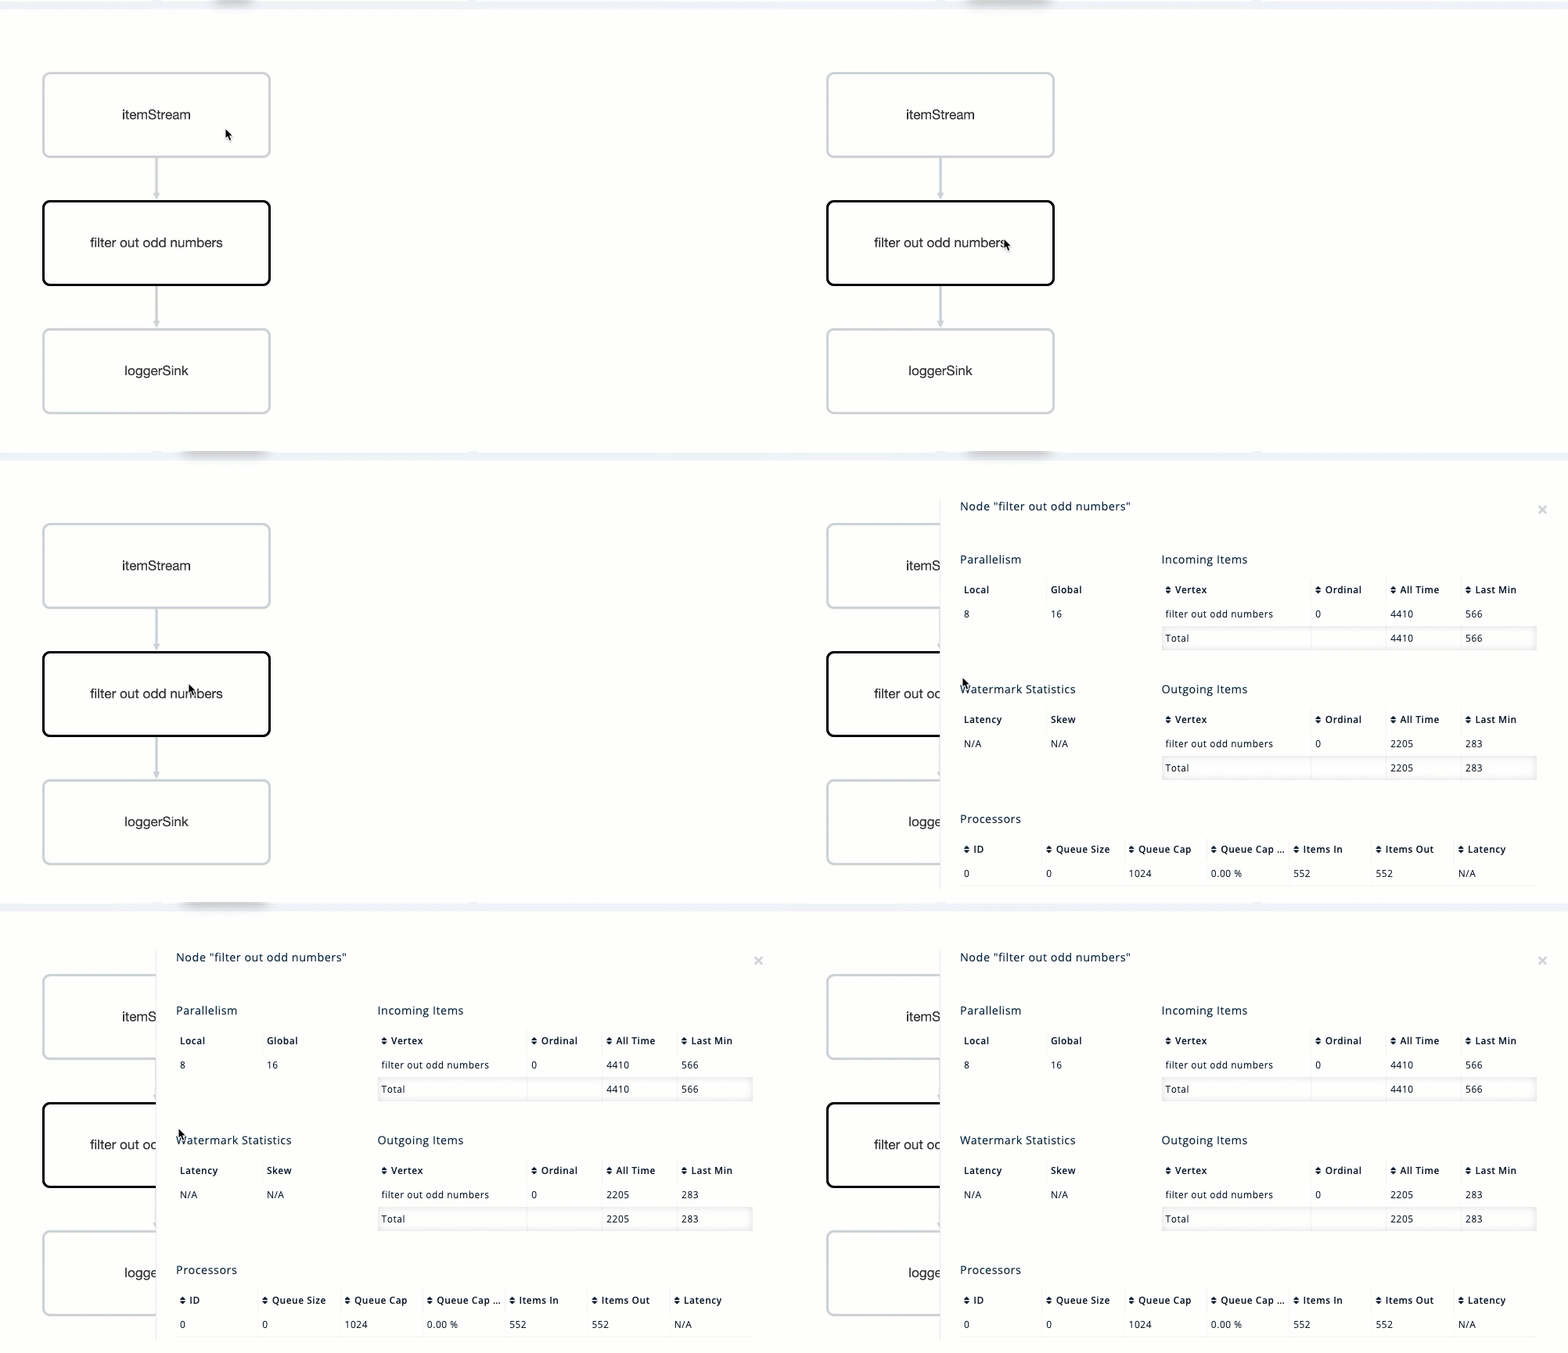
You should see a graph (DAG) in the center of the page. This graph is a visual representation of how Hazelcast optimizes your jobs for distributed execution. You can learn more about this concept in Jet: How Hazelcast Models and Executes Jobs.
You can click any node on the graph to see more information about how your cluster is executing it. 
-
To cancel your job, click Cancel.

In the console of the Hazelcast member, you should see that the job is canceled as well as the time it was started and how long it ran for.
Execution of job '062d-d578-9240-0001', execution 062d-d578-df80-0001 got terminated, reason=java.util.concurrent.CancellationException
	Start time: 2021-05-13T16:31:14.410
	Duration: 00:02:48.318
Complete Code Sample
package org.example;

import com.hazelcast.config.Config;
import com.hazelcast.core.Hazelcast;
import com.hazelcast.core.HazelcastInstance;
import com.hazelcast.jet.pipeline.Pipeline;
import com.hazelcast.jet.pipeline.Sinks;
import com.hazelcast.jet.pipeline.test.TestSources;

public class EvenNumberStream {
  public static void main(String[] args) {

    Pipeline pipeline = Pipeline.create();
    pipeline.readFrom(TestSources.itemStream(10))
      .withoutTimestamps()
      .filter(event -> event.sequence() % 2 == 0)
      .setName("filter out odd numbers")
      .writeTo(Sinks.logger());

    HazelcastInstance hz = Hazelcast.bootstrappedInstance();

    hz.getJet().newJob(pipeline);
  }
}
Next Steps
Learn more about how to manage and monitor jobs in Management Center.
Explore all the built-in sources and sinks that you can plug into your own pipelines.

