The easiest way to start using Management Center is to run the official Management Center Docker image.
docker run --rm -p 8080:8080 hazelcast/management-centerPlease see more details at DockerHub.
To start using the Management Center without Docker:
-
download the Hazelcast Management Center package
-
start the Management Center service
-
launch the Management Center user interface.
Downloading Management Center
Hazelcast Management Center is included in the Hazelcast IMDG download package. You can download it from the download page of Hazelcast’s website.
When a new Hazelcast IMDG version is released, it comes with a Management Center that is compatible with IMDG. There may be times when a new Management Center version is released before a new version of Hazelcast IMDG. In that case, you may download the new Management Center from its download page as a separate package.
Starting the Management Center Service
You have the following options to start the Management Center service:
-
Start Hazelcast Management Center from the command line.
-
Use the scripts that come with the download package.
-
Deploy the file
hazelcast-management-center-4.2021.06.waron your Java application server/servlet container.
Using the Command Line
After you downloaded, extract the Hazelcast IMDG or Management Center package.
The extracted directory, i.e., hazelcast-management-center-4.2021.06,
contains the hazelcast-management-center-4.2021.06.jar file.
You can start this file directly from the command line using the following command:
java -jar hazelcast-management-center-4.2021.06.jarThe above command starts the Hazelcast Management Center service on
the port 8080 with the root context path (http://localhost:8080).
In Management Center 4.0, the default context path changed from
hazelcast-mancenter to the root context path.
|
You can use -Dhazelcast.mc.http.port and -Dhazelcast.mc.contextPath
command line options to start Management Center on a different port and
context path:
java -Dhazelcast.mc.http.port=8083 -Dhazelcast.mc.contextPath='hazelcast-mc' -jar hazelcast-management-center-4.2021.06.jarThe above command starts Management Center on port 8083 and context path hazelcast-mc.
You can access it by opening http://localhost:8083/hazelcast-mc in your browser.
Then, you need to let Management Center know the Hazelcast IMDG member addresses as explained in the Connecting to the Clusters chapter.
For the options you can provide when starting with the command line, see the Configuring Management Center chapter. In that chapter, you can learn about topics including how to start with a license or extra classpath, how to configure the security, disk usage, update interval or logging.
Quick Launch
After the above steps are completed, let’s quickly open the Management Center user interface with the default settings.
Assuming that you have started your Hazelcast IMDG and Jet clusters
each including a single
member on your local machine (localhost) and started the Management Center service on http://localhost:8080,
follow the below instructions:
-
Go to
http://localhost:8080using your preferred browser. -
Select
Dev Modeas the security provider, and clickSave(note: this configuration is not recommended for production environments). -
Login with your newly created credentials, and "Manage Clusters" page appears.
-
Click on the "Add Cluster Config" button to connect Management Center to your IMDG cluster:
-
Click on the
Savebutton after providing your IMDG cluster’s name and member address (localhost).
-
-
Again, click on the "Add Cluster Config" button to connect Management Center to your Jet cluster:
-
Click on the
Savebutton after providing your Jet cluster’s name (use the defaultjet) and member address (localhost).
-
-
On the "Manage Cluster" page, click on the
Selectbutton for a desired cluster to monitor it; the dashboard of your cluster appears as shown below:
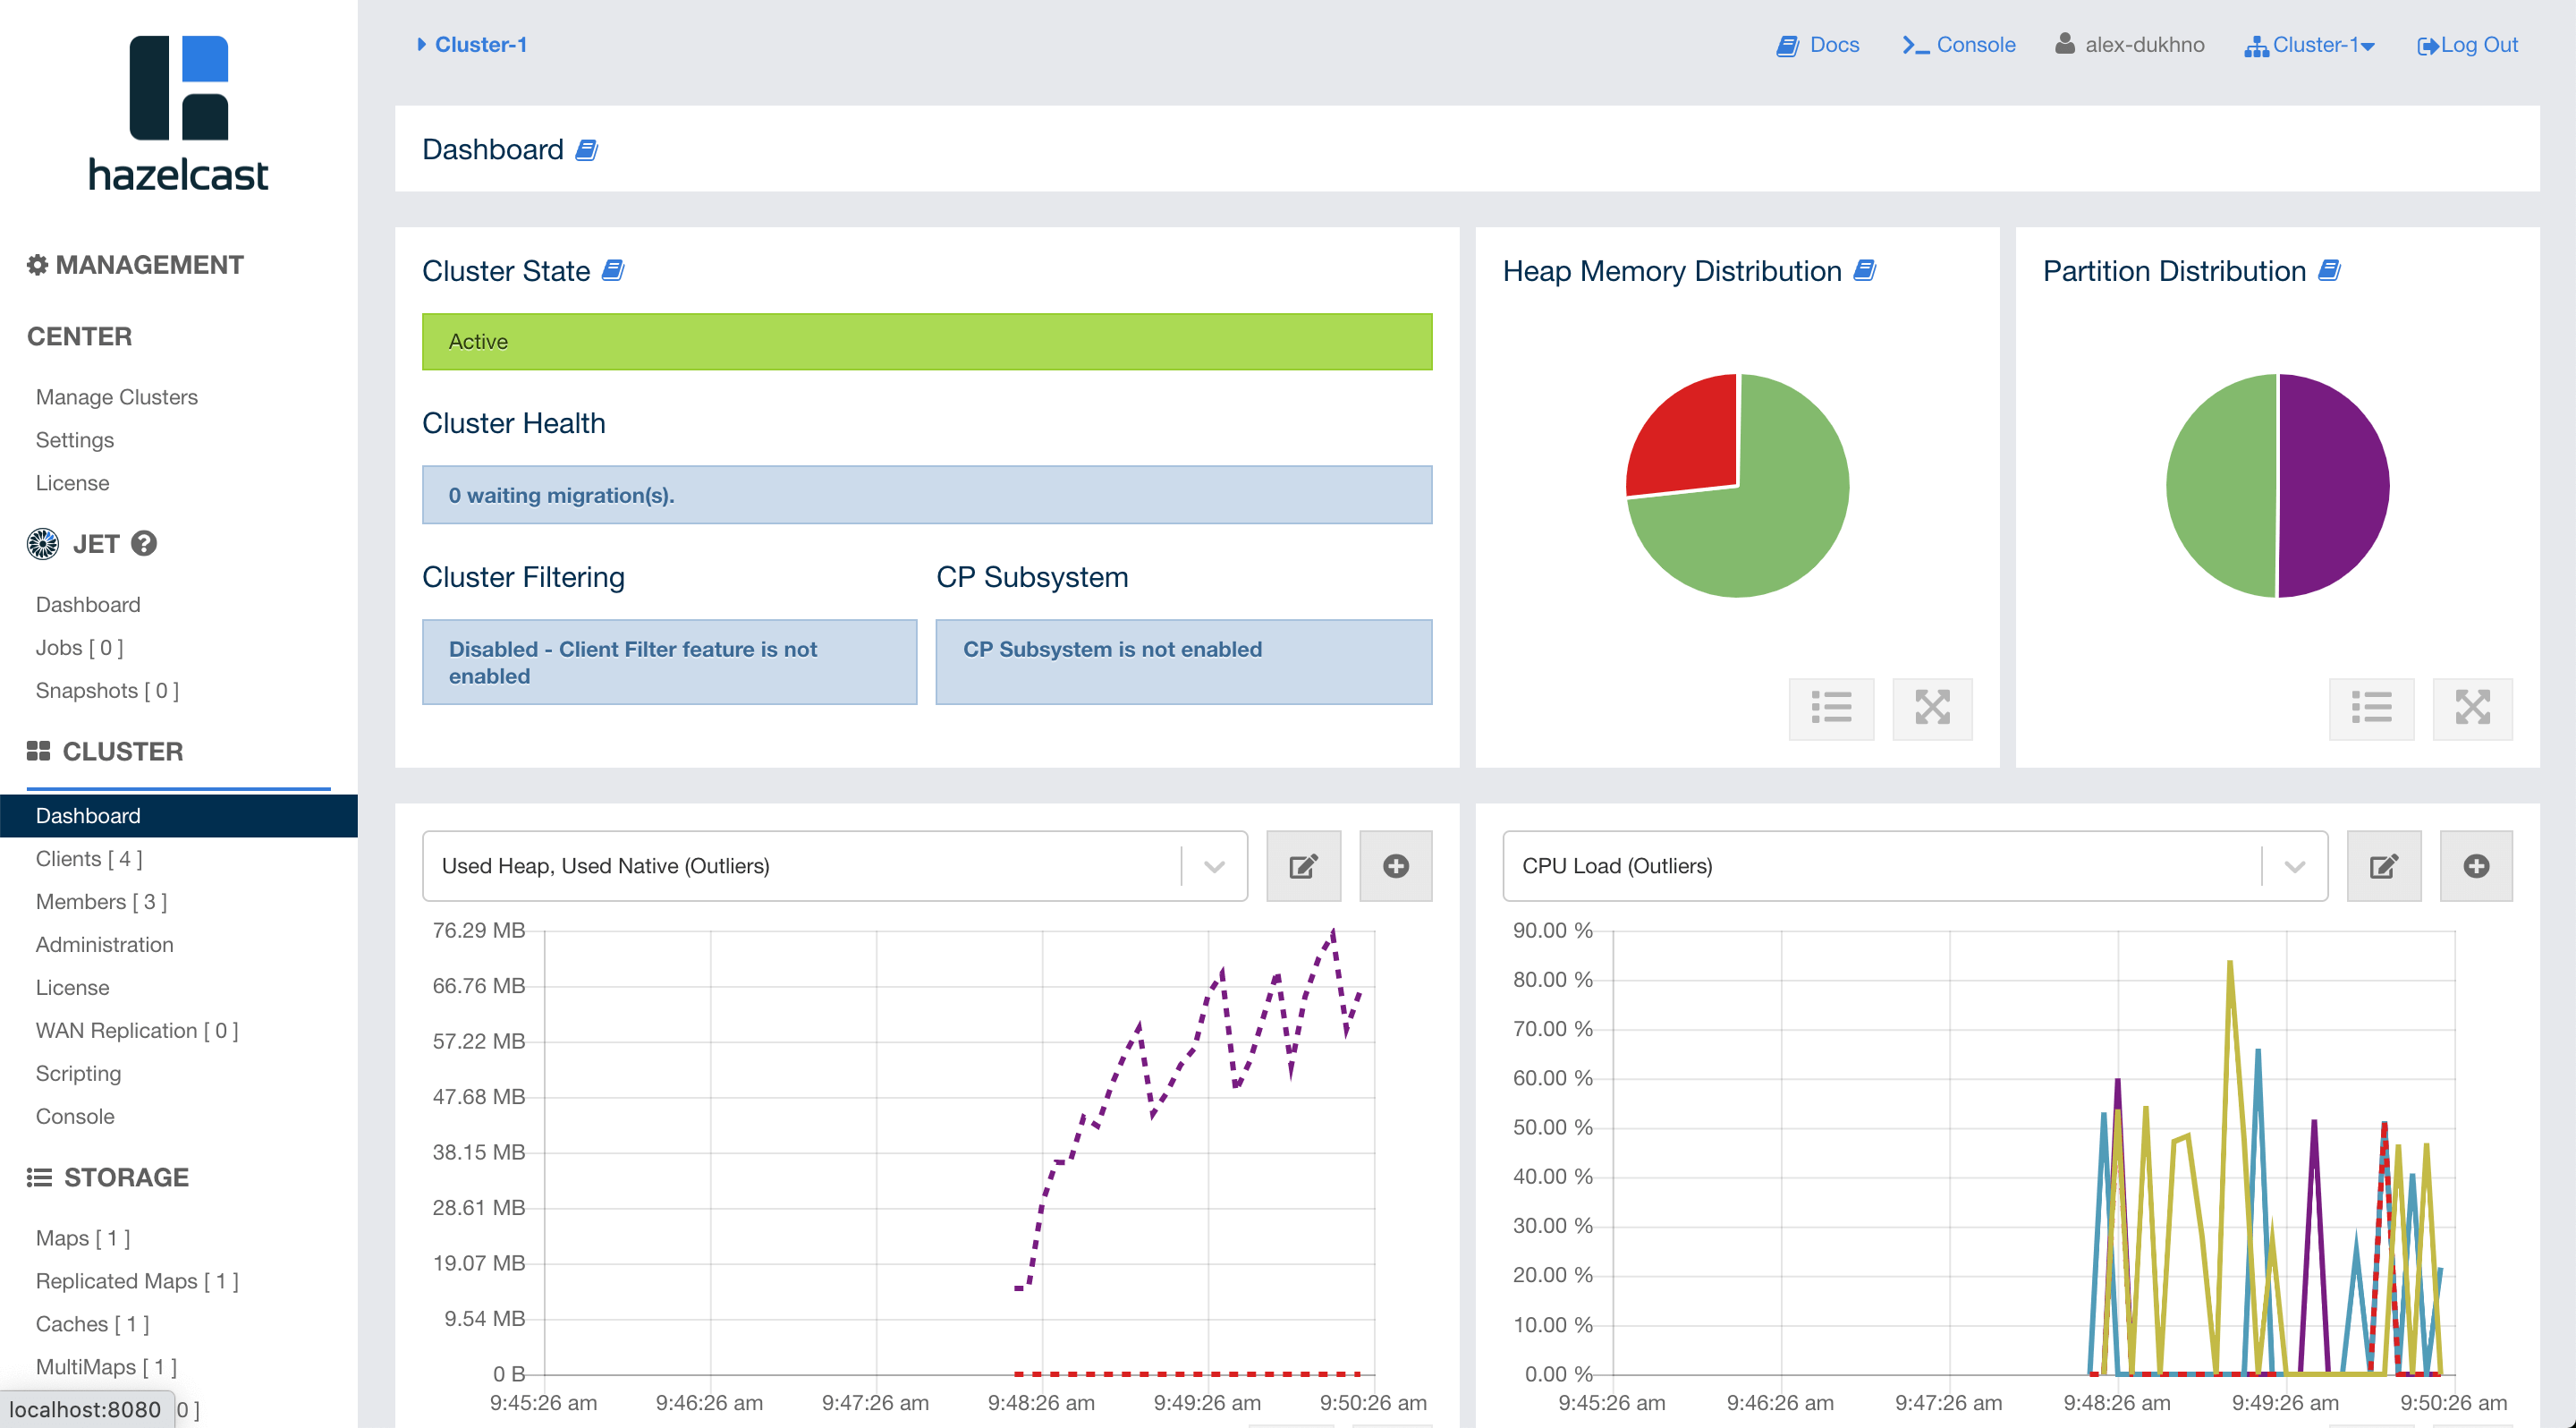
See the Launching the Management Center User Interface chapter for more details.
You also have the Dev Mode option for development or evaluation purposes that provides quick access to Management Center without requiring any security credentials. See the Dev Mode section for details.