In this tutorial, you’ll start up an instance of Management Center that automatically connects to a Hazelcast cluster, using a Docker container. To get up and running as quickly as possible, an example docker-compose.yml is provided. No other configuration or dependencies are required.
You’ll complete the following steps:
-
Create a
docker-compose.ymlto run a Hazelcast environment from a Docker container on your local machine. -
Start up Management Center and a Hazelcast cluster, using Docker Compose.
-
Launch Management Center from a browser to view cluster details.
-
Create a map using the SQL browser.
-
Monitor the map.
-
Shut down your Hazelcast environment.
Before You Begin
To complete this tutorial, you need the following:
| Prerequisites | Useful resources |
|---|---|
Docker Compose |
Step 1. Run Hazelcast from a Docker Container
-
Check that Docker Compose is installed correctly.
docker compose versionIf you do not see a version number, see the Docker docs for troubleshooting information.
-
Create a new directory on your local machine. In the directory, create a file named
docker-compose.ymland copy in the following details:version: "3.8" services: hazelcast: image: hazelcast/hazelcast:5.5.2 ports: - "5701:5701" management-center: image: hazelcast/management-center:5.5.2 ports: - "8080:8080" environment: - MC_DEFAULT_CLUSTER=dev - MC_DEFAULT_CLUSTER_MEMBERS=hazelcastYou can preconfigure a cluster connection in Management Center by setting the following environment variables:
-
MC_DEFAULT_CLUSTER: The cluster name that Management Center connects to.
-
MC_DEFAULT_CLUSTER_MEMBERS: A comma-separated list of the cluster member addresses or host names.
-
-
In a terminal, change into the directory that you just created.
-
To pull the required images, and to start up a Management Center instance already connected to a Hazelcast cluster, run the following:
docker compose upWait until you see the following message in the console:
Hazelcast Management Center successfully started at http://localhost:8080Followed by:
MC Client connected to cluster dev.
Step 2. Launch Management Center
Now that Management Center is connected to a running cluster, you can start to explore.
-
In a web browser, go to
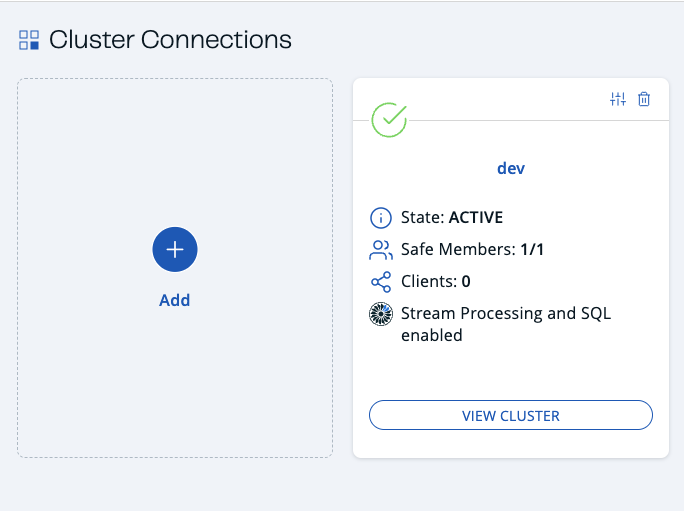
localhost:8080. Details of the Hazelcast cluster that Management Center connected to during startup are displayed.
Management Center is running in dev mode. This mode is a special security provider that allows you to evaluate Management Center, without needing login credentials or authentication tokens for the REST API. For details about security providers, see Security Providers.
-
Click View Cluster to see the cluster’s dashboard.

Step 3. Create a Map
Management Center comes with a variety of tools for communicating with clusters. In this step, you’ll use the SQL browser to create a map in the cluster and put some data in it.
-
Click SQL in the Side Bar.
After each of the following SQL queries, click Execute Query.
-
Create a map called
my_distributed_map.CREATE MAPPING my_distributed_map TYPE IMap OPTIONS ('keyFormat'='varchar','valueFormat'='varchar'); -
Put some data into the map.
SINK INTO my_distributed_map VALUES ('1', 'John'), ('2', 'Mary'), ('3', 'Jane'); -
Now you can query the data you have written:
SELECT * FROM my_distributed_map;
Step 4. Monitor the Map
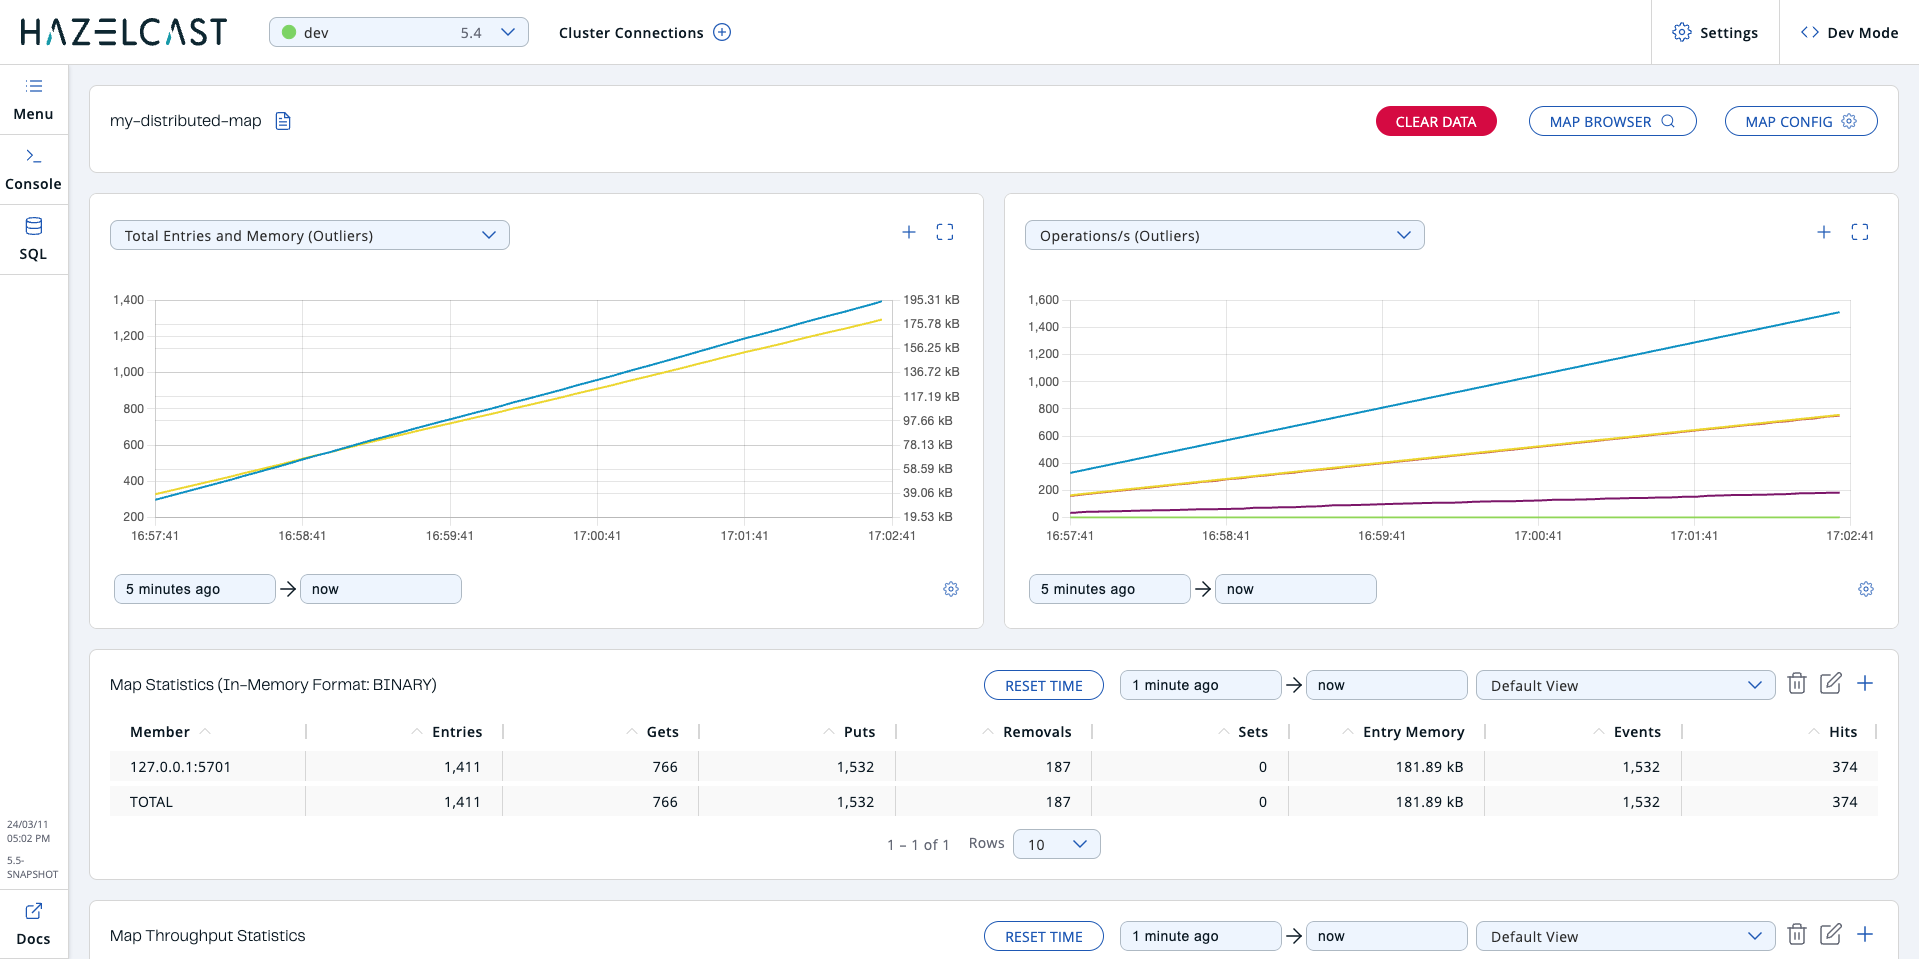
Go back to the cluster’s dashboard and select Storage > Maps, and then select my_distributed_map from the list of maps. You can see the statistics of your map:

Next Steps
If you have an Enterprise license or you want to learn about Enterprise features, see Enterprise Licenses.
To serve Management Center over HTTPS instead of HTTP, see Serve Management Center over HTTPS.
For the options you can provide when starting Management Center, see System Properties and Environment Variables.
