In this tutorial, you will examine the operations of a CP-enabled Hazelcast Platform cluster, then work with the CPMap data structure using the Hazelcast CLC.
Context
The Hazelcast CP Subsystem adds the capability of true consistency to the primarily AP Hazelcast Platform. When the CP Subsystem is enabled, application developers have access to CPMap, a key-value store similar in function to IMap that provides consistency guarantees. The CP Subsystem also supports Java concurrency primitives, guaranteeing atomic operations of these data structures.
Before you Begin
Before starting this tutorial, make sure that you have installed the following:
Optional
-
Your preferred Java IDE
Step 1. Set up the Cluster and Verify Operations
In this section, you’ll launch a Hazelcast cluster and Management Center using Docker. You’ll verify that the CP Subsystem is up and ready for data. You’ll then pause, then restart a cluster member and observe the changes in Management Center and view the system logs.
-
Download the repository from GitHub.
-
Run the following commands to start a Hazelcast cluster
docker compose up -d
docker compose ps
You should see four services up and running: three instances of Hazelcast, and one instance of Management Center.
-
Open the file
hazelcast.yamlto review the cluster member configuration. -
Open a web browser and connect to localhost:8080. This will open Management Center. Select Dev Mode to open the main dashboard. Go to Settings, then open License. Paste in the license key from
hazelcast.yaml. Verify that the license includes Advanced CP, which is required for CPMap functionality.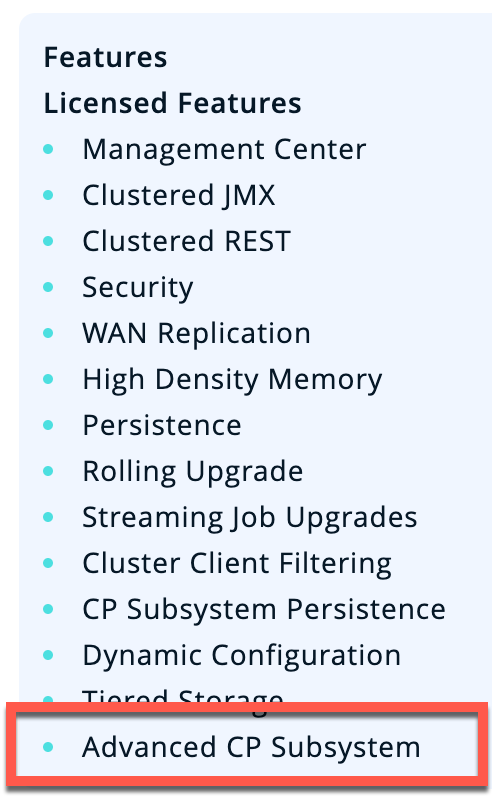
-
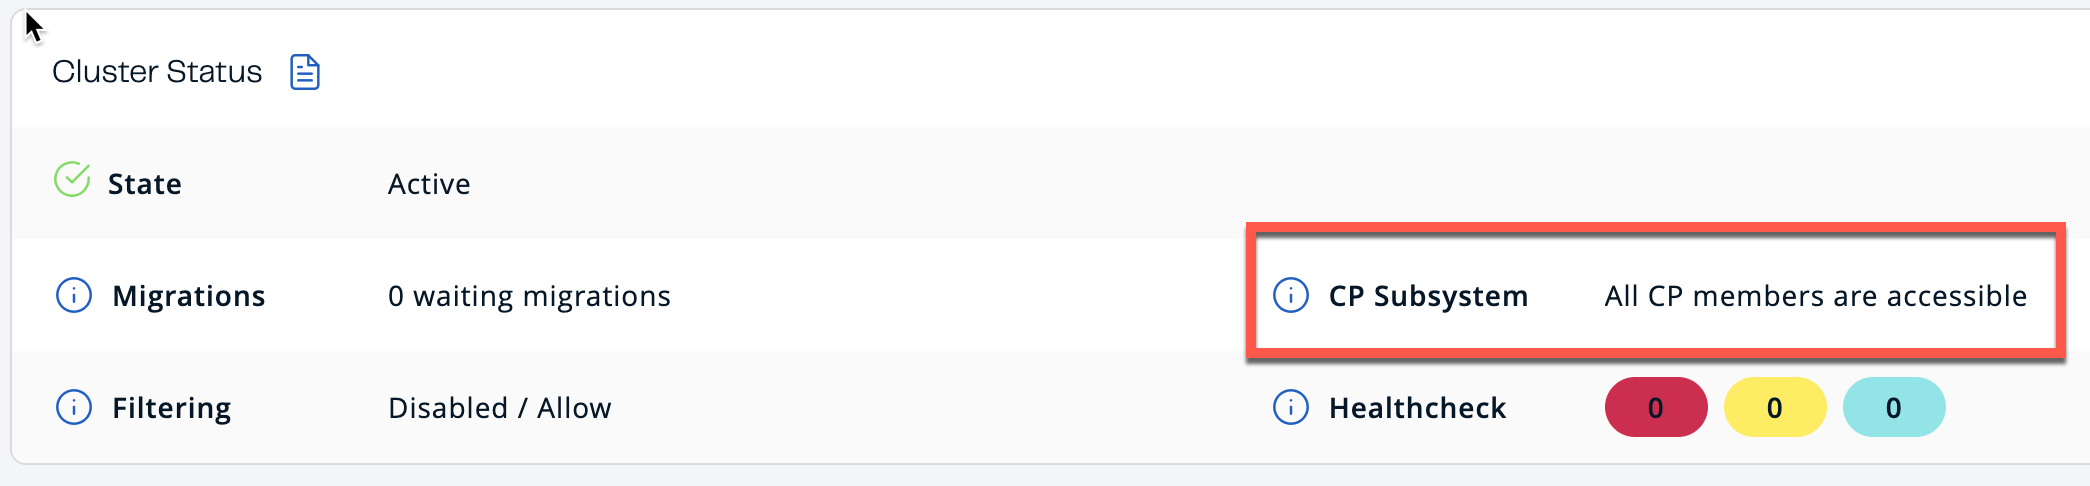
Close the settings screen. The main dashboard should show that the CP Subsystem is accessible.
-
Scroll down to verify that the cluster has a total of three nodes.
-
From the left side menu, go to CP Subsystem > Dashboard. Note that the CP Subsystem has three nodes in the CP Stats window. Under CP Groups, the only group that exists is METADATA; this group is used for CP Subsystem management.
Step 2. Create a CPMap Using CLC
In this step, you’ll use the CLC to connect to one of the cluster members. You’ll create a CPMap and add data to the map. You’ll then retrieve data from the map.
-
Open a separate terminal window. Enable CPMap capabilities in CLC (only needed for CLC 5.3.7).
export CLC_EXPERIMENTAL_CPMAP=1 -
Start CLC using the provided configuration file.
clc -c clc_docker.yaml -
At the SQL prompt, use the
cpmapcommands to create a CPMap and add data, then retrieve the data.\cpmap -n trektos set 1 "James Kirk" \cpmap -n trektos get 1The backslash is needed for all CLC commands. Otherwise CLC assumes you are entering SQL commands. Type \helpfor a list of all available commands. -
Run the
trektos.clcscript to add data to the CPMap.\script run trektos.clc -
Verify that additional entries have been added to the map.
\cpmap -n trektos get 6 -
In Management Center, examine the CP Subsystem dashboard. Note that there is now a "default" group. This is the group maintaining the RAFT algorithm for the
trektosCPMap. -
In Management Center, select CPMaps from the left side. The screen lists the CPMap you just created, along with map statistics.
-
(Optional) In the Client subdirectory, we’ve included a sample Java client that creates an additional CPMap. To run the client, change to the Client subdirectory, then run the following Maven commands.
mvn clean compile exec:java -Dexec.mainClass="Client4CP"Use CLC and Management Center to verify the creation of a second CPMap.
Step 3. Simulating a Network Partition
In this section, you will pause and restart individual cluster members to simulate network partition and member failure conditions. You’ll learn about when the CP Subsystem can heal itself, and when administrator intervention is required.
-
From the CLC, run the script sw.clc. This creates an IMap. We will use this to compare data accessibility between an AP IMap and a CP CPMap.
\script run sw.clc -
Retrieve an entry from the IMap.
\map -n starwars get 1 -
In the terminal window, stop cluster member 2. Observe the changes in the CP Subsystem dashboard.
docker stop cpsubsystem-hz2-1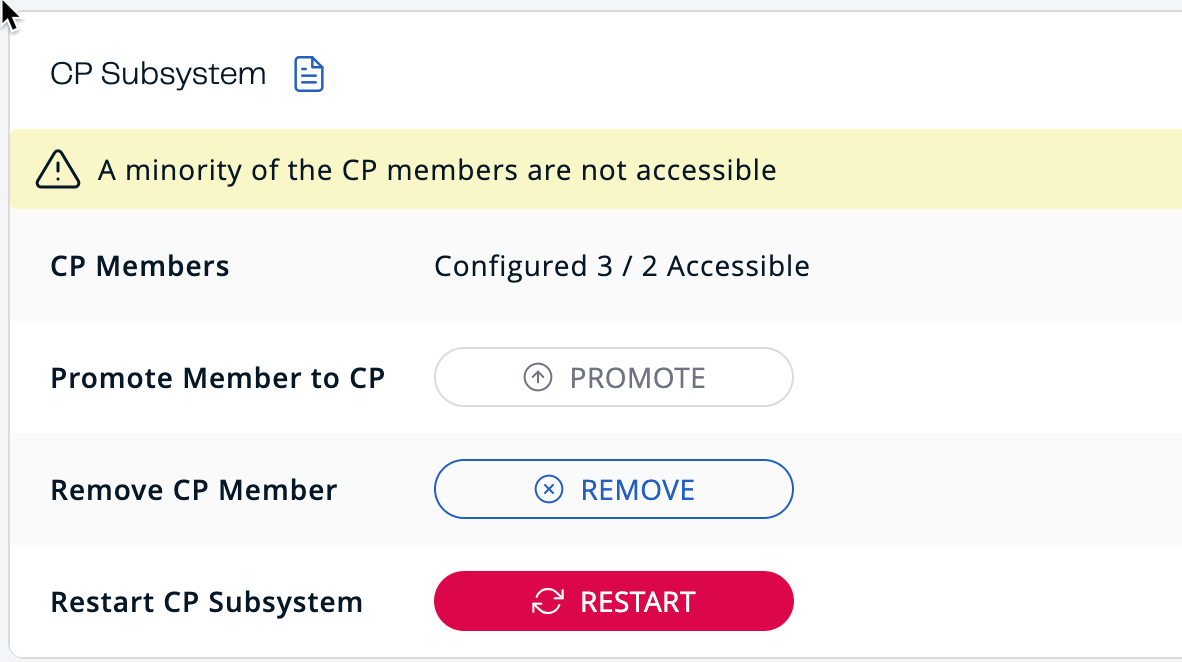
-
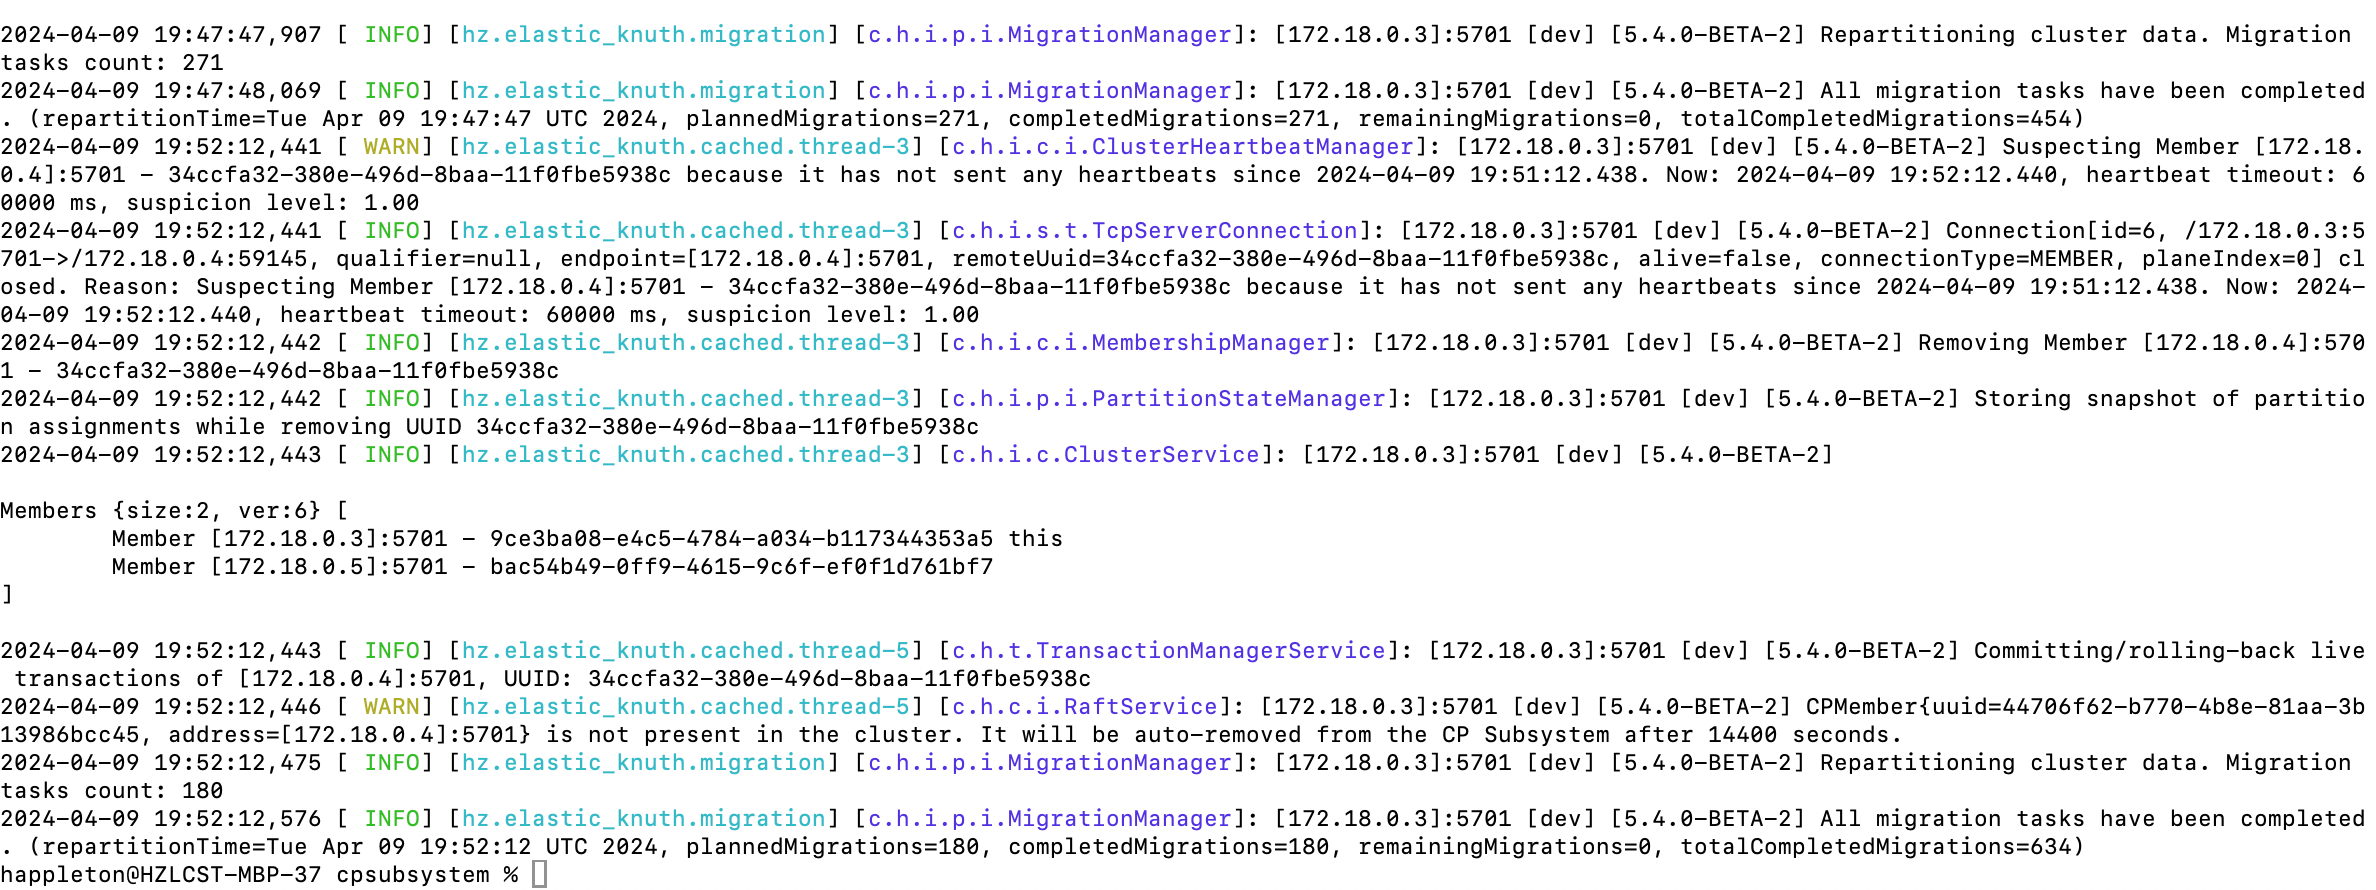
Review the log entries of one of the remaining members to see messages related to data migration for AP data and group rebalancing for CP data. The command is
docker logs <container>.Example output:
-
Using CLC, verify that you can still access both IMap and CPMap data.
\map -n starwars get 1 \cpmap -n trektos get 1 -
Stop cluster member 3. Note the changes in Management Center.
docker stop cpsubsystem-hz3-1 -
Verify that you can still access AP data, but cannot access CP data. Accessing CP data will give you a "Connecting to cluster…" message.
-
Start cluster member 2
docker start cpsubsystem-hz2-1At this point, we have created a situation where the CP Subsystem is unrecoverable. There is only a minority left in the group, and there is no majority "out there" that retains any CP data. The only path to recovery is to restart all the cluster members. The lesson here is to configure resilience into your CP Subsystem so this cannot happen! -
Use Docker compose to remove all your containers.
docker compose down
Step 4: Configuring Resilience (Optional)
In this step, we will add another cluster member, and configure the cluster for automatic member failure.
-
Open the file compose.yaml. Add a fourth instance of Hazelcast to the file. Save your changes.
hz4: image: hazelcast/hazelcast-enterprise:5.4.0 environment: JAVA_OPTS: -Dhazelcast.config=/project/hazelcast.yaml volumes: - ".:/project" -
Open the file hazelcast.yaml. Modify the configuration as follows:
-
Set the member count to 4
-
Add the timeout and set it to 60 seconds
-
Add the auto-removal and set it to 60 seconds
  cp-subsystem:
    cp-member-count: 3
    group-size: 3
    session-time-to-live-seconds: 60
    missing-cp-member-auto-removal-seconds: 60
-
-
Start up the containers.
docker compose up -d-
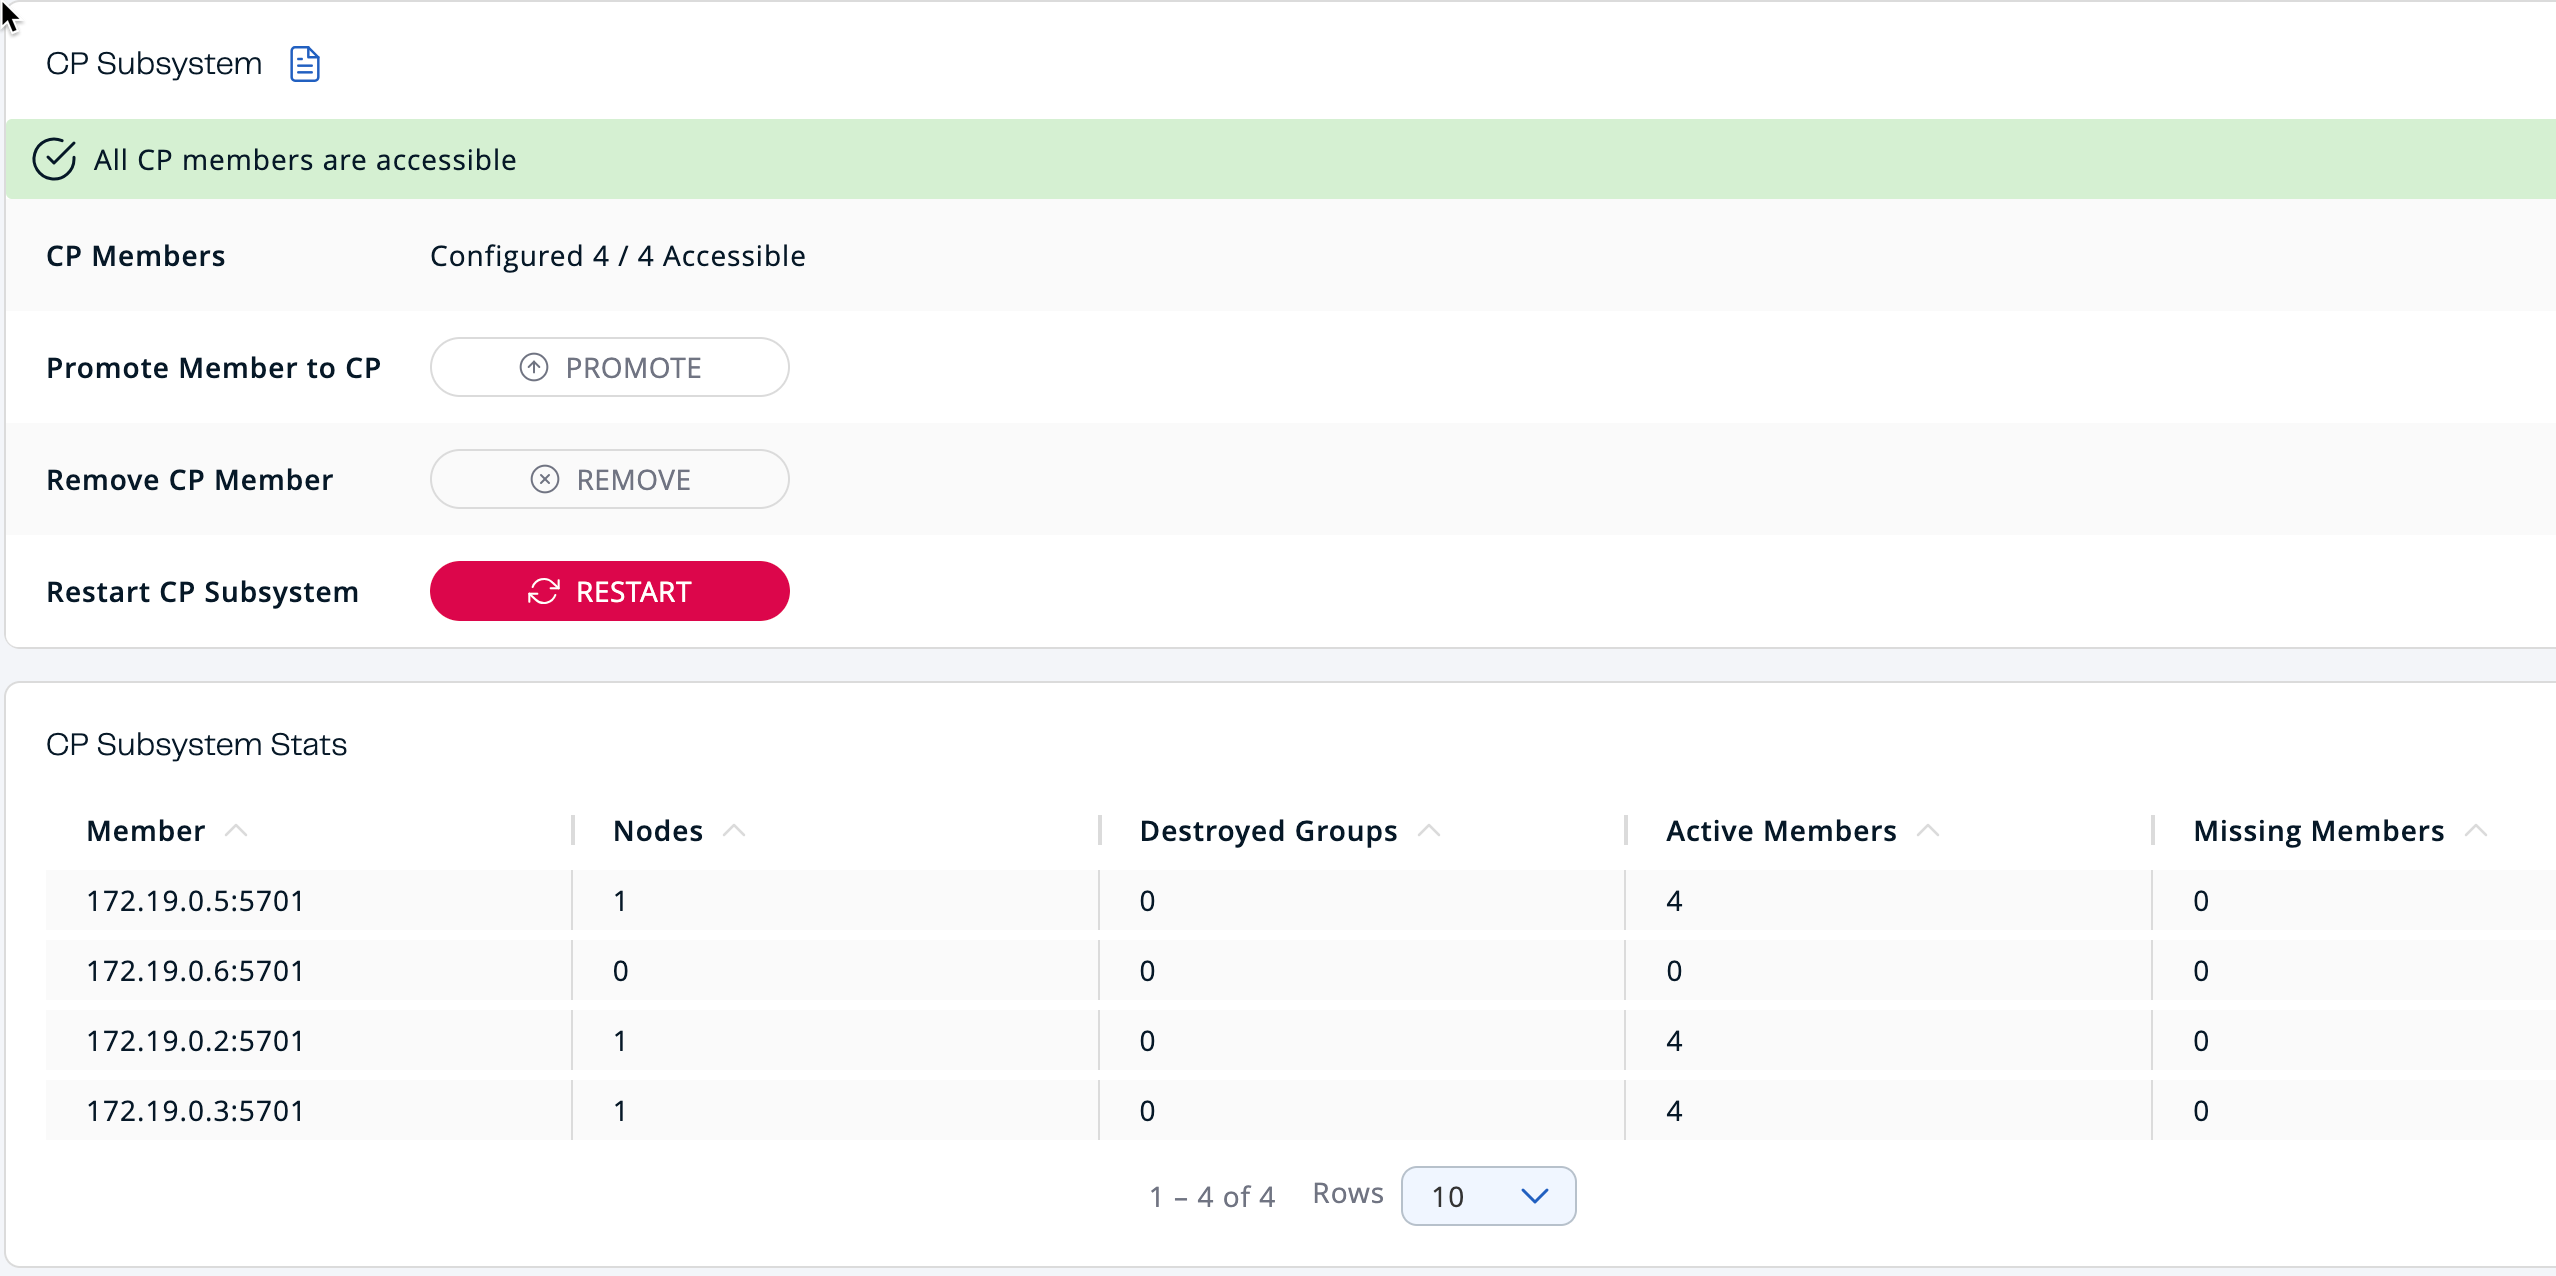
In Management Center, go to the CP Subsystem dashboard. You should now see four members listed. Note that one has zero nodes. This means it is not participating in any groups.
-
Check the IP address of hz4. If it is one of the active CP members, stop it. If it is not, then stop hz3. Observe the changes in Management System over the next few minutes.
docker container inspect cpsubsystem-hz4-1 | grep "IPAddress" docker stop cpsubsystem-hz4-1 -
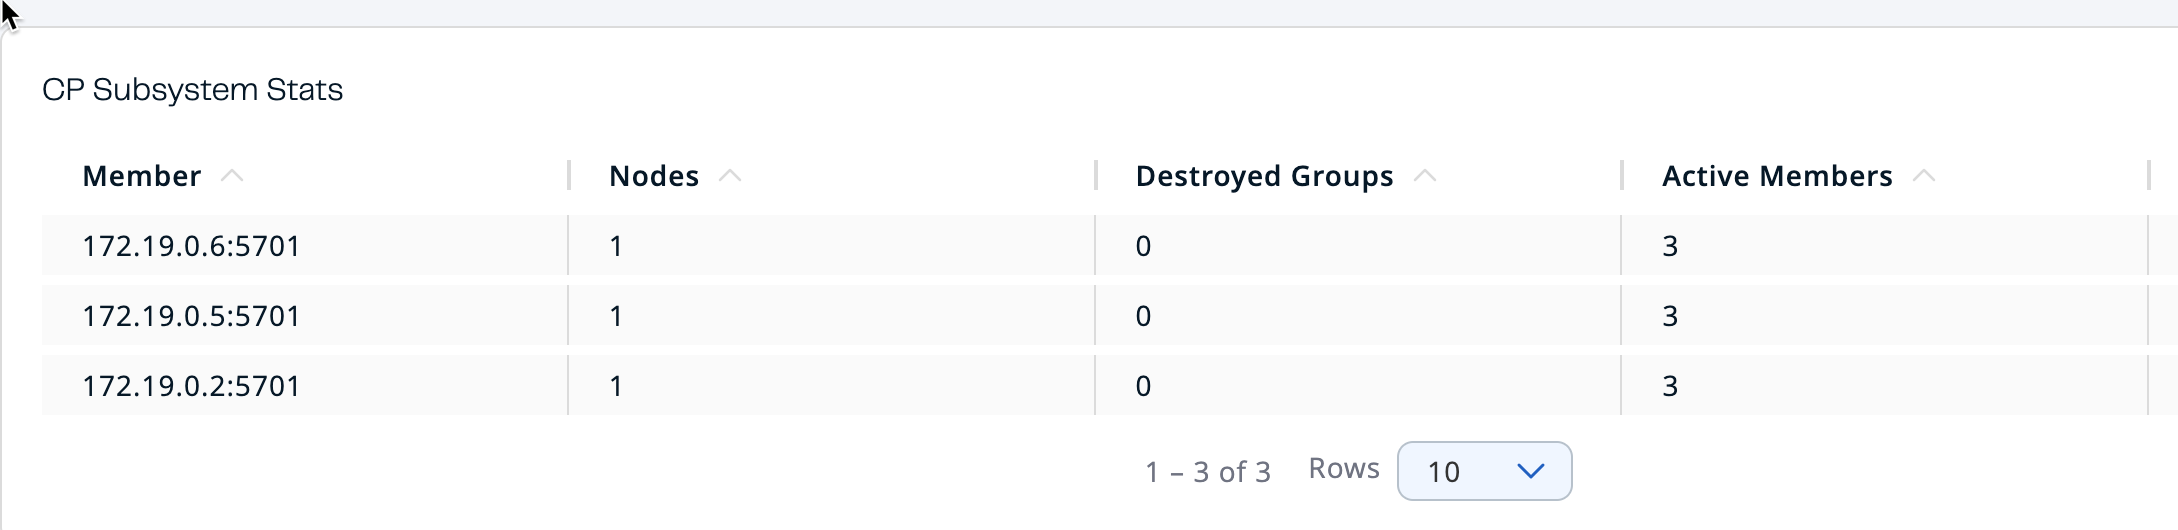
Note that the node that previously was not participating in groups has been promoted and is now partipating in the group.
-
Restart the stopped container. There will be no changes in Management Center, nor to the CP Subsystem. If you look at the log for the restarted system, you will see the following message.
2024-04-16 16:25:43 2024-04-16 23:25:43,655 [ INFO] [hz.recursing_benz.generic-operation.thread-3] [c.h.c.i.MetadataRaftGroupManager]: [172.19.0.3]:5701 [dev] [5.4.0] Disabling discovery of initial CP members since it is already completed…
-
To bring the CP Subsystem back to all four members, use the Management Center dashboard to promote the restarted member.
| Because we only have one group, no group rebalancing will occur. You can verify this by looking at the system logs for each member. |
What’s Next?
You now have a working CP Subsystem setup. Experiment with creating multiple groups to observe group distribution when there are more subsystem members than needed by each group. Work with other CP data structures. The documentation links below will provide additional information on
Summary
In this tutorial, you worked with the CPMap data structure, and experimented with CP Subsystem management.
See Also
-
Hazelcast Training: Strong Data Consistency - this course provides instruction on CP subsystem operations, configuration, data structures, and fenced locks.